Every old Victorian house restoration story starts the same way: someone falls in love with a facade, closes on the property, and assumes the hard part is behind them. It rarely is. What follows is a walkthrough of a real 18-month restoration project on a Folk Victorian home built in the late 1880s, shared here to illustrate what the process actually looks like once the excitement wears off and the real work begins.
This isn’t a highlight reel. It includes the frustrating discoveries, the budget adjustments, and the decisions that had to be made under pressure, because that’s what an honest restoration timeline actually looks like.
Meet the House: A Century-Old Foundation of Good Bones
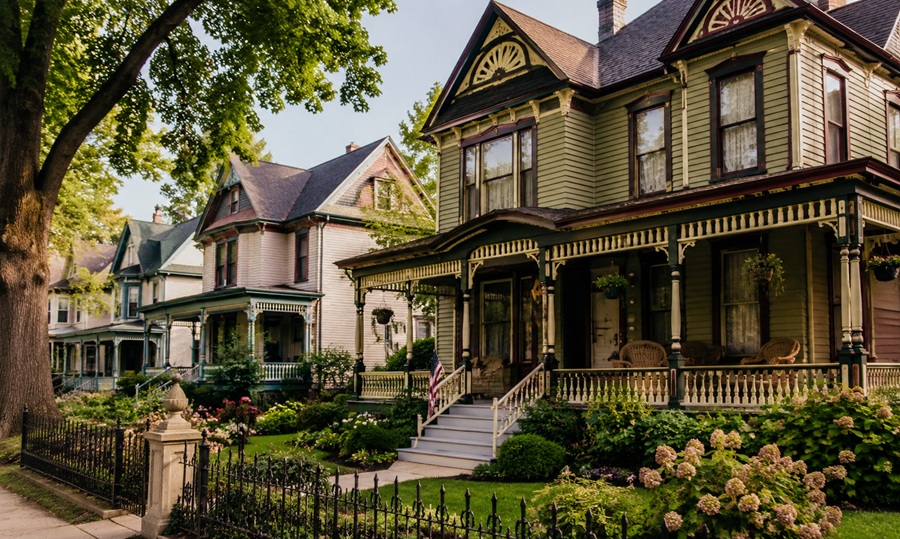
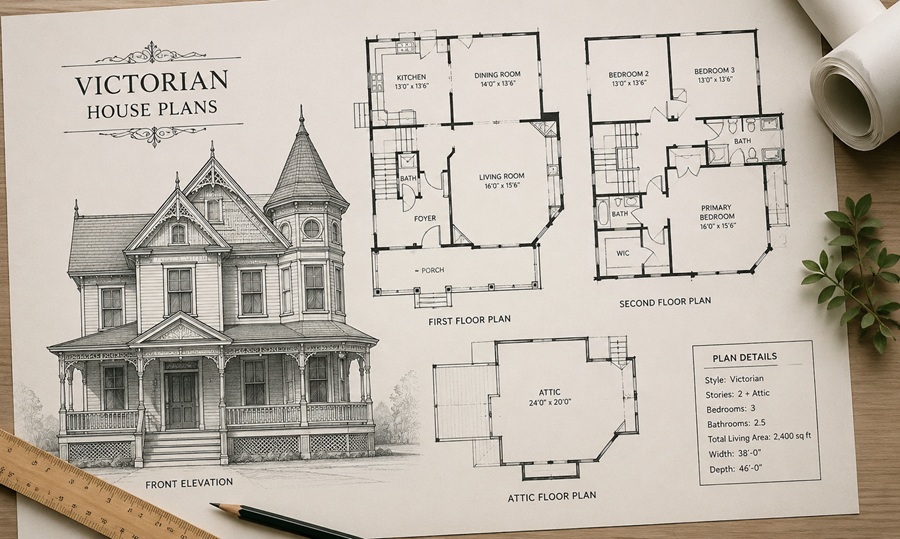
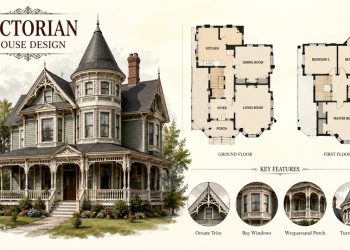
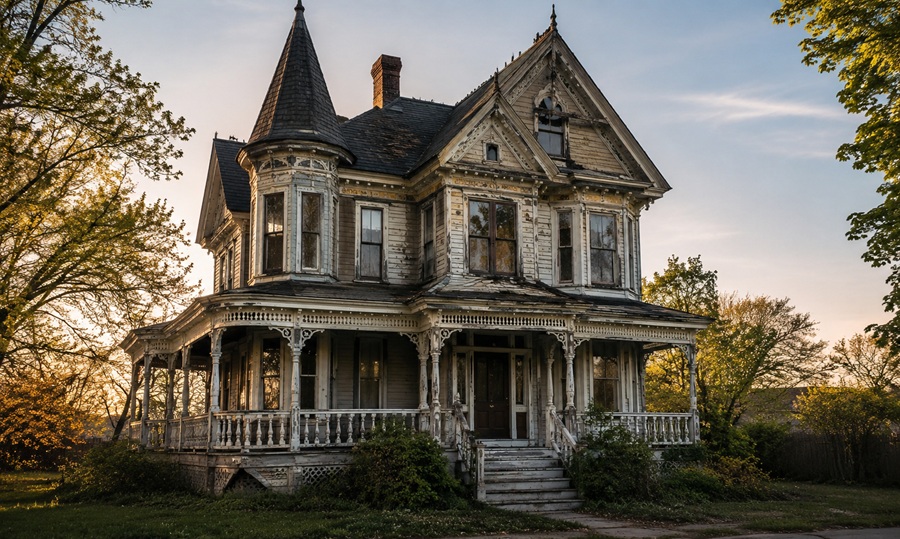
The property was a two-story Folk Victorian with a full-width front porch, original clapboard siding, and roughly 2,400 square feet of living space. It had been owner-occupied for decades before sitting vacant for nearly two years prior to purchase, which meant some deferred maintenance but also meant it had escaped the kind of aggressive 1970s and 80s ‘modernization’ that strips so many old Victorian houses of their original character.
At purchase, the exterior trim was intact, the original hardwood floors were hidden under carpet in most rooms, and the front porch’s turned spindle railing was original, though badly weathered. These details mattered because they gave the restoration a strong starting point rather than requiring full reconstruction from scratch.
The Discovery Phase: What the Walls Were Hiding
Demolition on the kitchen and one bathroom began in month two, and this is where the project’s real story started. Behind the kitchen’s 1960s cabinetry, the team found active knob-and-tube wiring still connected to the panel, despite a prior inspection noting it as ‘likely inactive.’ A full electrical rewiring, originally budgeted as a partial update, became a whole-house project.
The bathroom revealed a second surprise: significant water damage around the original cast iron tub, tracing back to a slow roof leak that had gone unnoticed for years. What started as a cosmetic bathroom refresh turned into a subfloor replacement and a broader roof inspection, which uncovered aging flashing around the chimney that needed replacement as well.
The Mid-Project Budget Reset
By month five, the combined discoveries pushed the project roughly 30 percent over the original budget, a figure that lines up closely with what restoration contractors commonly report for pre-1900 homes. Cutting corners on the newly discovered structural and electrical work wasn’t an option, so the finish-level upgrades got scaled back instead.
A planned custom kitchen island was replaced with a more modest freestanding option, and higher-end tile in the primary bathroom was swapped for a comparable but lower-cost alternative. This is a decision restoration professionals recommend consistently: protect the budget for systems and structure first, and treat cosmetic finishes as the flexible line item.
Bringing Back Period-Accurate Details
With systems work largely resolved by month nine, attention shifted to restoring rather than replacing original character. The front porch spindle railing was carefully repaired rather than replaced outright, with only the most deteriorated sections rebuilt to match the original profile using a local millwork shop.
Original hardwood floors, once uncovered, needed refinishing rather than replacement, a significant cost savings that also preserved authentic material. Where trim had been removed or damaged over the decades, the team sourced matching salvaged millwork from an architectural reclamation yard rather than manufacturing modern reproductions, keeping material consistency with the home’s original era.
Final Cost Breakdown and Timeline
The full restoration ran 18 months from purchase to completion, longer than the original 12-month estimate, largely due to the electrical and roofing discoveries in months two through five. Systems work, including electrical, plumbing, and roofing, consumed close to half of the total renovation budget, a proportion notably higher than a typical remodel on a newer home, where finishes usually claim the larger share.
Cosmetic and period-detail work, including flooring refinishing, trim restoration, and interior painting using historically appropriate color palettes, made up most of the remaining budget. The lesson that came through clearly by the end: budgeting for an old Victorian house restoration means planning for systems first and treating finishes as the adjustable variable, not the other way around.
How Climate Shaped the Restoration Decisions
The home’s location in a humid climate zone directly influenced several decisions throughout the project, particularly around moisture management. Extra attention went into ensuring proper attic ventilation and vapor barriers during the roof repair, specifically to prevent the kind of slow moisture buildup that had caused the original bathroom damage.
Exterior paint selection also accounted for climate, with the team choosing a breathable, moisture-tolerant paint formulation over a standard acrylic to reduce the risk of trapped moisture causing peeling on the original wood siding. Buyers restoring similar homes in drier or colder climates would likely prioritize different details, such as storm window installation or ice dam prevention, underscoring how much regional conditions shape a realistic restoration plan.
Frequently Asked Questions
A few questions came up repeatedly once this project was shared with other homeowners considering something similar.
How long does it take to restore an old Victorian house?
This case study took 18 months, longer than the original 12-month estimate, largely due to hidden electrical and roofing issues discovered mid-project. Timelines vary significantly based on a home’s condition, but budgeting extra time beyond the initial estimate is common advice among restoration professionals.
What usually costs the most in a Victorian house restoration?
Systems work, including electrical rewiring, plumbing updates, and roofing repair, typically consumes the largest share of a restoration budget. This often surprises buyers who expect cosmetic finishes like flooring and paint to be the biggest expense.
Should I restore or replace original Victorian details?
Restoring original details is generally preferred when the material is structurally sound, since it preserves authenticity and is often more cost-effective than full replacement. Severely deteriorated sections may still need replacement, ideally matched using salvaged materials or custom millwork.
How much over budget do Victorian house restorations typically go?
This case study ran roughly 30 percent over its original budget, which aligns with figures commonly reported by restoration contractors for pre-1900 homes. Building a contingency into the initial budget is standard practice for exactly this reason.
What hidden problems are common in old Victorian houses?
Outdated or partially active knob-and-tube wiring, hidden roof leaks, and aging plumbing are among the most frequently discovered issues once walls and floors are opened up. A specialized inspection before purchase can catch some of these, but certain problems only surface once renovation work begins.